Pumpkin carving is an essential part of Halloween celebrations, and for those looking to take their pumpkin designs to the next level, a touch of creativity can go a long way. This blog post explores some of the most unique and innovative pumpkin carving ideas that will surely impress your friends and neighbors. From spooky silhouettes to intricate patterns, get ready to elevate your pumpkin carving game this Halloween season. Get inspired and let your imagination run wild as we dive into the world of the most creative pumpkin carving ideas.
Traditional Pumpkin Carving Techniques

When the crisp air of autumn arrives, and Halloween approaches, one beloved tradition takes center stage: pumpkin carving. While there’s an array of intricate designs and artistic approaches to pumpkin artistry, there’s something timeless and comforting about the classic Jack-o’-lantern. In this guide, we’ll delve into the traditional pumpkin carving techniques that have delighted generations. From the simple triangular eyes and toothy grin to the tools and tips that make it all possible, let’s celebrate the art of creating the quintessential Halloween symbol.
The Classic Jack-o’-Lantern Design
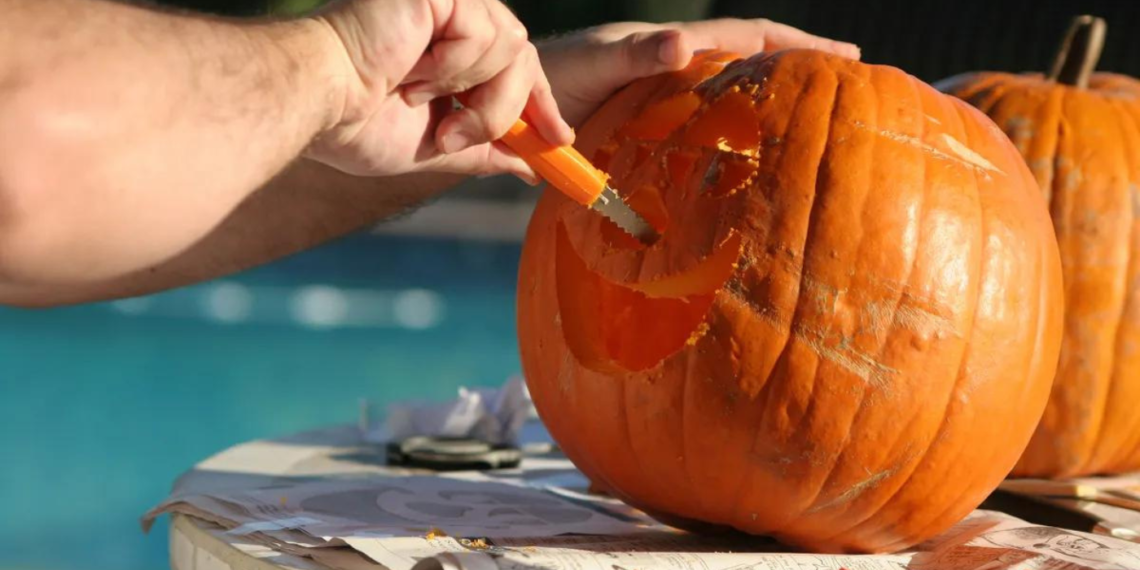
The classic Jack-o’-lantern design never goes out of style. Its iconic features, a pair of triangular eyes and a toothy grin, are instantly recognizable and universally adored. These simple shapes convey a sense of playfulness and mischievousness that perfectly captures the spirit of Halloween. To create this design, follow these steps:
- Select the Right Pumpkin: Choose a fresh, medium-sized pumpkin with a sturdy stem.
- Prepare Your Workspace: Lay down newspaper or a plastic sheet to catch the inevitable pumpkin guts and make cleanup easier.
- Carving Tools: Traditional pumpkin carving requires a few key tools:
- A serrated knife for cutting the top off the pumpkin.
- A scoop or large spoon to remove the seeds and pulp.
- A fine-tip marker for drawing your design.
- A small saw or carving knife for cutting out the features.
- Design Face: Using the marker, draw your desired face on the pumpkin. The classic design includes two triangular eyes and a zigzag mouth.
- Carving: Carefully follow your design as you cut out the eyes and mouth. Make sure to cut on a slight angle so that the features won’t fall inside the pumpkin.
- Light It Up: Place a candle or LED light inside the hollowed-out pumpkin and enjoy the warm, flickering glow that emanates from your classic Jack-o’-lantern.
Traditional Carving Tools and Tips
While the design may be simple, achieving a clean and well-executed Jack-o’-lantern takes some skill. Here are a few tips to make your traditional pumpkin carving a success:
- Patience is Key: Take your time when cutting out the features. Slow and steady wins the race and results in smoother edges.
- Pumpkin Preservation: Coat the cut edges with petroleum jelly to help preserve the pumpkin and prevent it from drying out too quickly.
- Pumpkin Seeds: Don’t forget to save the seeds you scoop out; they make for delicious roasted snacks.
- Safety First: If you’re carving with children, make sure to supervise and assist them as needed. Use child-friendly tools and candles.
The classic Jack-o’-lantern design is a timeless symbol of Halloween, and its creation is a delightful family activity. So, grab your carving tools, select the perfect pumpkin, and let your creativity shine as you carve the quintessential Halloween masterpiece. Enjoy the tradition, and have a spooktacular Halloween!
Unique and Creative Pumpkin Carving Ideas

Halloween wouldn’t be complete without the mesmerizing glow of intricately carved pumpkins adorning your doorstep. While the classic Jack-o’-lantern has its charm, let’s explore some unique and creative pumpkin carving ideas that will take your Halloween decorations to the next level. From stencil designs to 3D pumpkin carving, painted pumpkins, and glow-in-the-dark creations, there’s a world of pumpkin artistry waiting to be unleashed.
Stencil Designs: Unleash Your Inner Artist
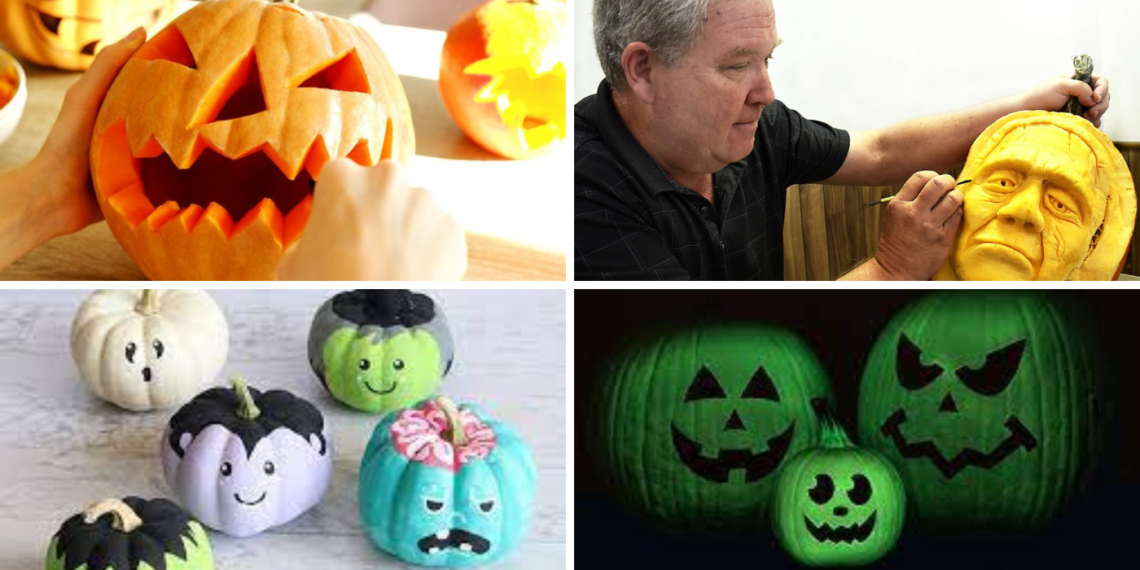
Stencil designs offer a perfect blend of artistry and precision. Choose from a wide array of intricate patterns and designs, ranging from elegant filigree to spooky silhouettes. Take your inspiration from pop culture with stencils featuring beloved movie characters or iconic symbols. With the help of stencils, you can create pumpkin masterpieces that are sure to impress your Halloween visitors.
3D Pumpkin Carving: Adding Depth and Dimension
Step into the realm of 3D pumpkin carving, where your gourd becomes a canvas for creating depth and realism. Sculpting techniques come into play as you transform your pumpkin into a work of art. Bring to life animals, faces, or fantastical creatures by skillfully carving layers that add depth and dimension to your design. The result? A pumpkin that appears to come alive when lit from within.
Painted Pumpkins: Embrace Non-Traditional Creativity
For a departure from the traditional carving approach, consider painted pumpkins. This allows for an endless array of design possibilities, from elegant floral patterns to abstract art. Experiment with different painting techniques such as drip painting, splatter art, or ombre gradients. The canvas is your pumpkin, and the possibilities are limited only by your imagination.
Glow-in-the-Dark Pumpkins: Create an Eerie Ambiance
Give your Halloween night an otherworldly touch with glow-in-the-dark pumpkins. Using special glow paints and effects, your pumpkins can emit an eerie and captivating luminescence. These enchanting creations add an extra layer of mystique to your Halloween decor, illuminating your yard with an almost magical glow when the lights go out.
Prolonging the Life of Your Halloween Pumpkin Carving
Pumpkin carving is a cherished Halloween tradition, but nobody wants their masterpiece to wither away before the big night. This article will provide you with practical tips to extend the lifespan of your carved pumpkin, ensuring it stays fresh and vibrant until Halloween.
Extend the Lifespan
- Moisture Maintenance: After carving your pumpkin, moisture loss is your biggest enemy. To keep your pumpkin looking fresh, apply a thin layer of petroleum jelly to the cut edges. This will help seal in moisture and prevent your pumpkin from drying out too quickly.
- Refrigeration: If you have the space, consider storing your carved pumpkin in the refrigerator when you’re not displaying it. The cold temperature can slow down the decomposition process.
- Misting: Regularly mist your pumpkin with water. This helps maintain moisture on the surface and keeps it looking plump. Remember, hydration is the key to a longer-lasting pumpkin.
Prevent Mold and Decay
- Bleach Solution: Create a mixture of 1 tablespoon of bleach per gallon of water. Dip a cloth or sponge into the solution and gently wipe down the exterior of your pumpkin. This will help kill mold spores and slow down decay.
- Candle Alternatives: While a traditional candle looks fantastic inside a pumpkin, it also generates heat that can speed up decomposition. Consider using LED lights or battery-operated candles as a safer, cooler, and equally eerie alternative.
- Choose a Healthy Pumpkin: It all starts with the right pumpkin. Select one that’s fresh, with a sturdy stem and no soft spots. A healthy pumpkin will naturally last longer.
With these straightforward tips, your Halloween pumpkin carving can defy the odds and stay picture-perfect for longer. As you prepare to showcase your creative masterpiece, remember to keep it hydrated, prevent mold and decay, and choose the right tools and lighting for a spooktacular Halloween display. Enjoy the spooky season without fretting over your pumpkin’s longevity.
Pumpkin Carving Safety Tips
In the Halloween tradition, pumpkin carving is a beloved and fun activity for both adults and children. But while doing pumpkin carving, we should take some safety precautions to avoid any injuries to anyone. Let’s talk about safety tips that will help you be safe while carving:
Make use of the proper equipment and tools. Be safe with sharp knives and other carving tools, which can be dangerous. Don’t use kitchen knives and other tools as they are not meant for pumpkin carving; they can be more slipping tools and cause damage to the person who is using them.
For children, pumpkin carving can be dangerous. Children are not allowed to use carving tools or keep an eye on them. Don’t keep tools near your body; keep a safe distance from them. Keep knives and other tools at a safe distance from your hands and eyes.
Light your pumpkin safely. If you’re lighting your pumpkin with a candle, be sure to place the candle inside the pumpkin and close the lid. Never leave a lit pumpkin unattended.
Carve on a stable surface. Make sure your pumpkin is on a flat, sturdy surface before you start carving. Keep your work area clean and dry. A wet or slippery work area can increase your risk of slipping and falling.
Take breaks. Pumpkin carving can be tiring, so take breaks often to avoid fatigue and accidents. By following these safety tips, you can help to ensure that your pumpkin carving experience is fun and safe for everyone involved.
Conclusion
In conclusion, when it comes to Halloween, pumpkin carving is a creative and fun tradition that allows us to showcase our artistic skills. With these unique pumpkin carving ideas, you can take your Halloween decorations to the next level. From spooky silhouettes to intricate designs, there are endless possibilities to explore. So, grab your carving tools and get ready to impress your friends and family with your amazing pumpkin creations this Halloween! Happy carving!


